Umbrellas are underestimated by many enthusiasts and advanced amateurs.
That's probably because they're the first light modifiers that most
photographers work with and they're generally associated with the
learning process of studio photography. Indeed, I recommend umbrellas to
anyone who wants to try studio photography, but I still use them today
after many years of working in the studio.
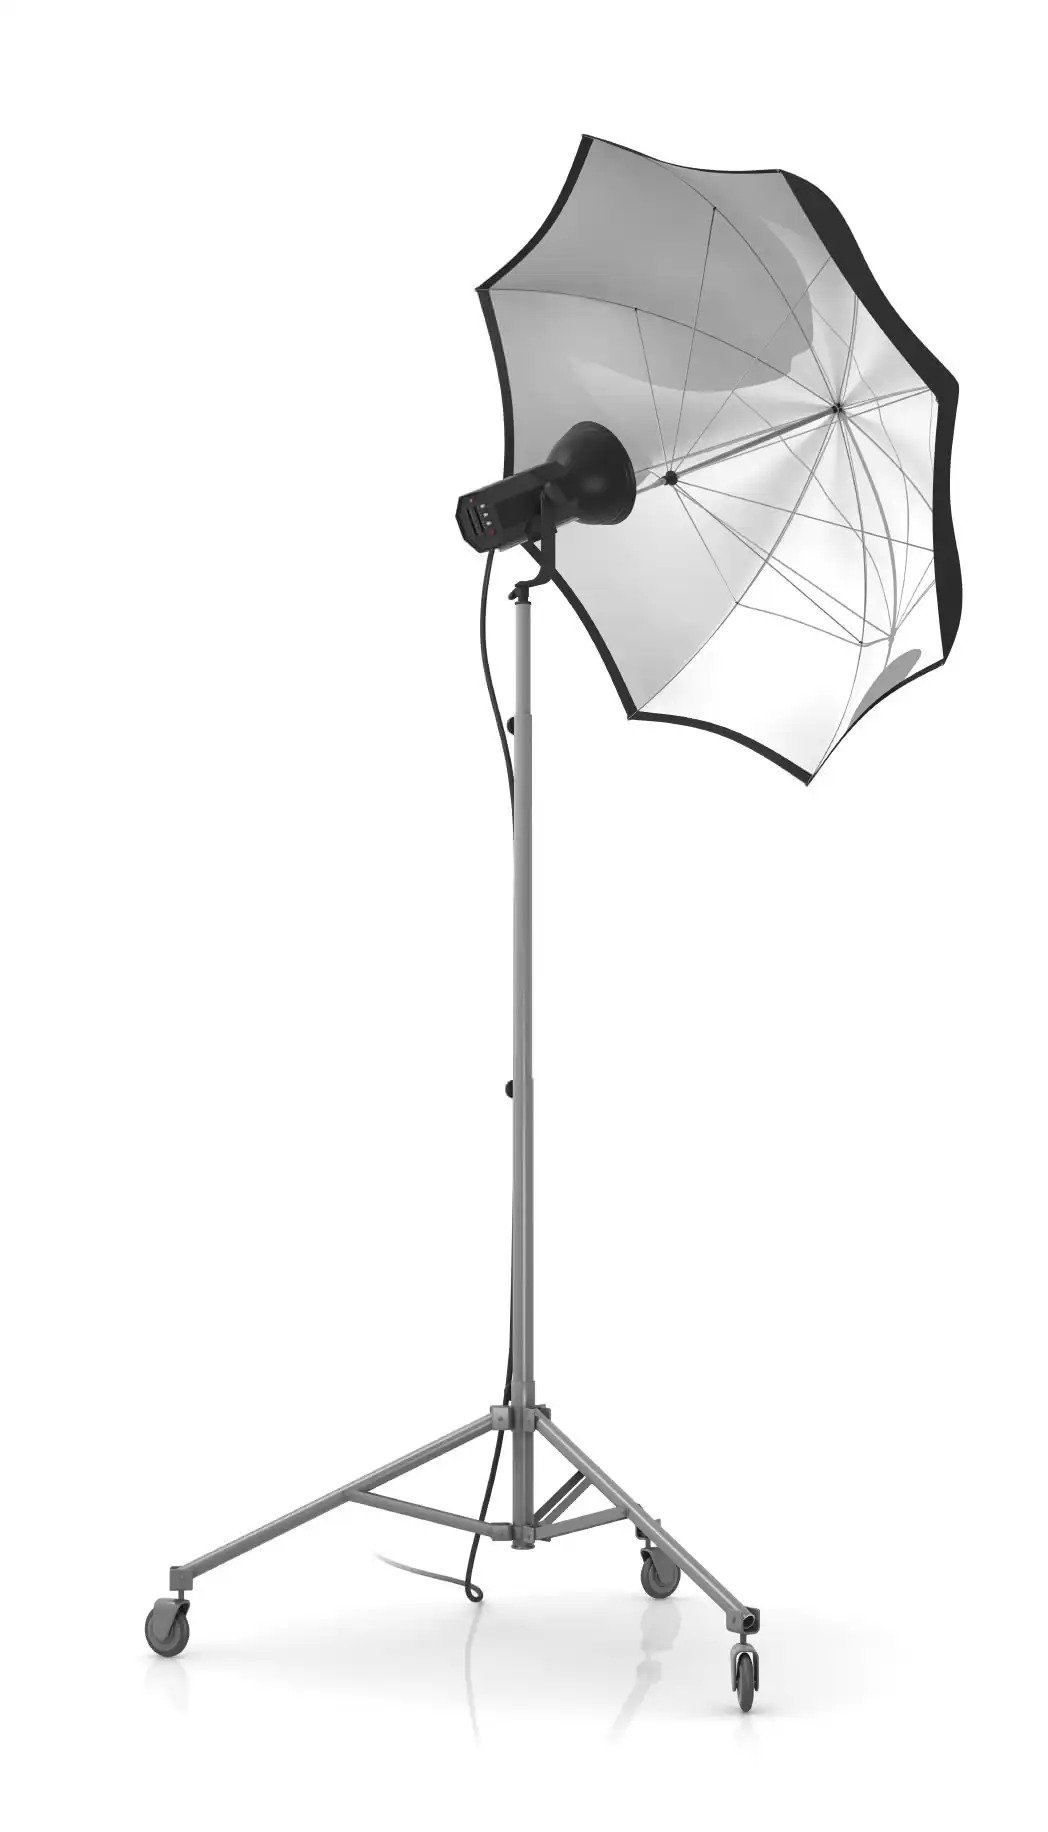
But before you do that, it's good to know there are two types of umbrellas used for lighting: shoot-through and reflective.
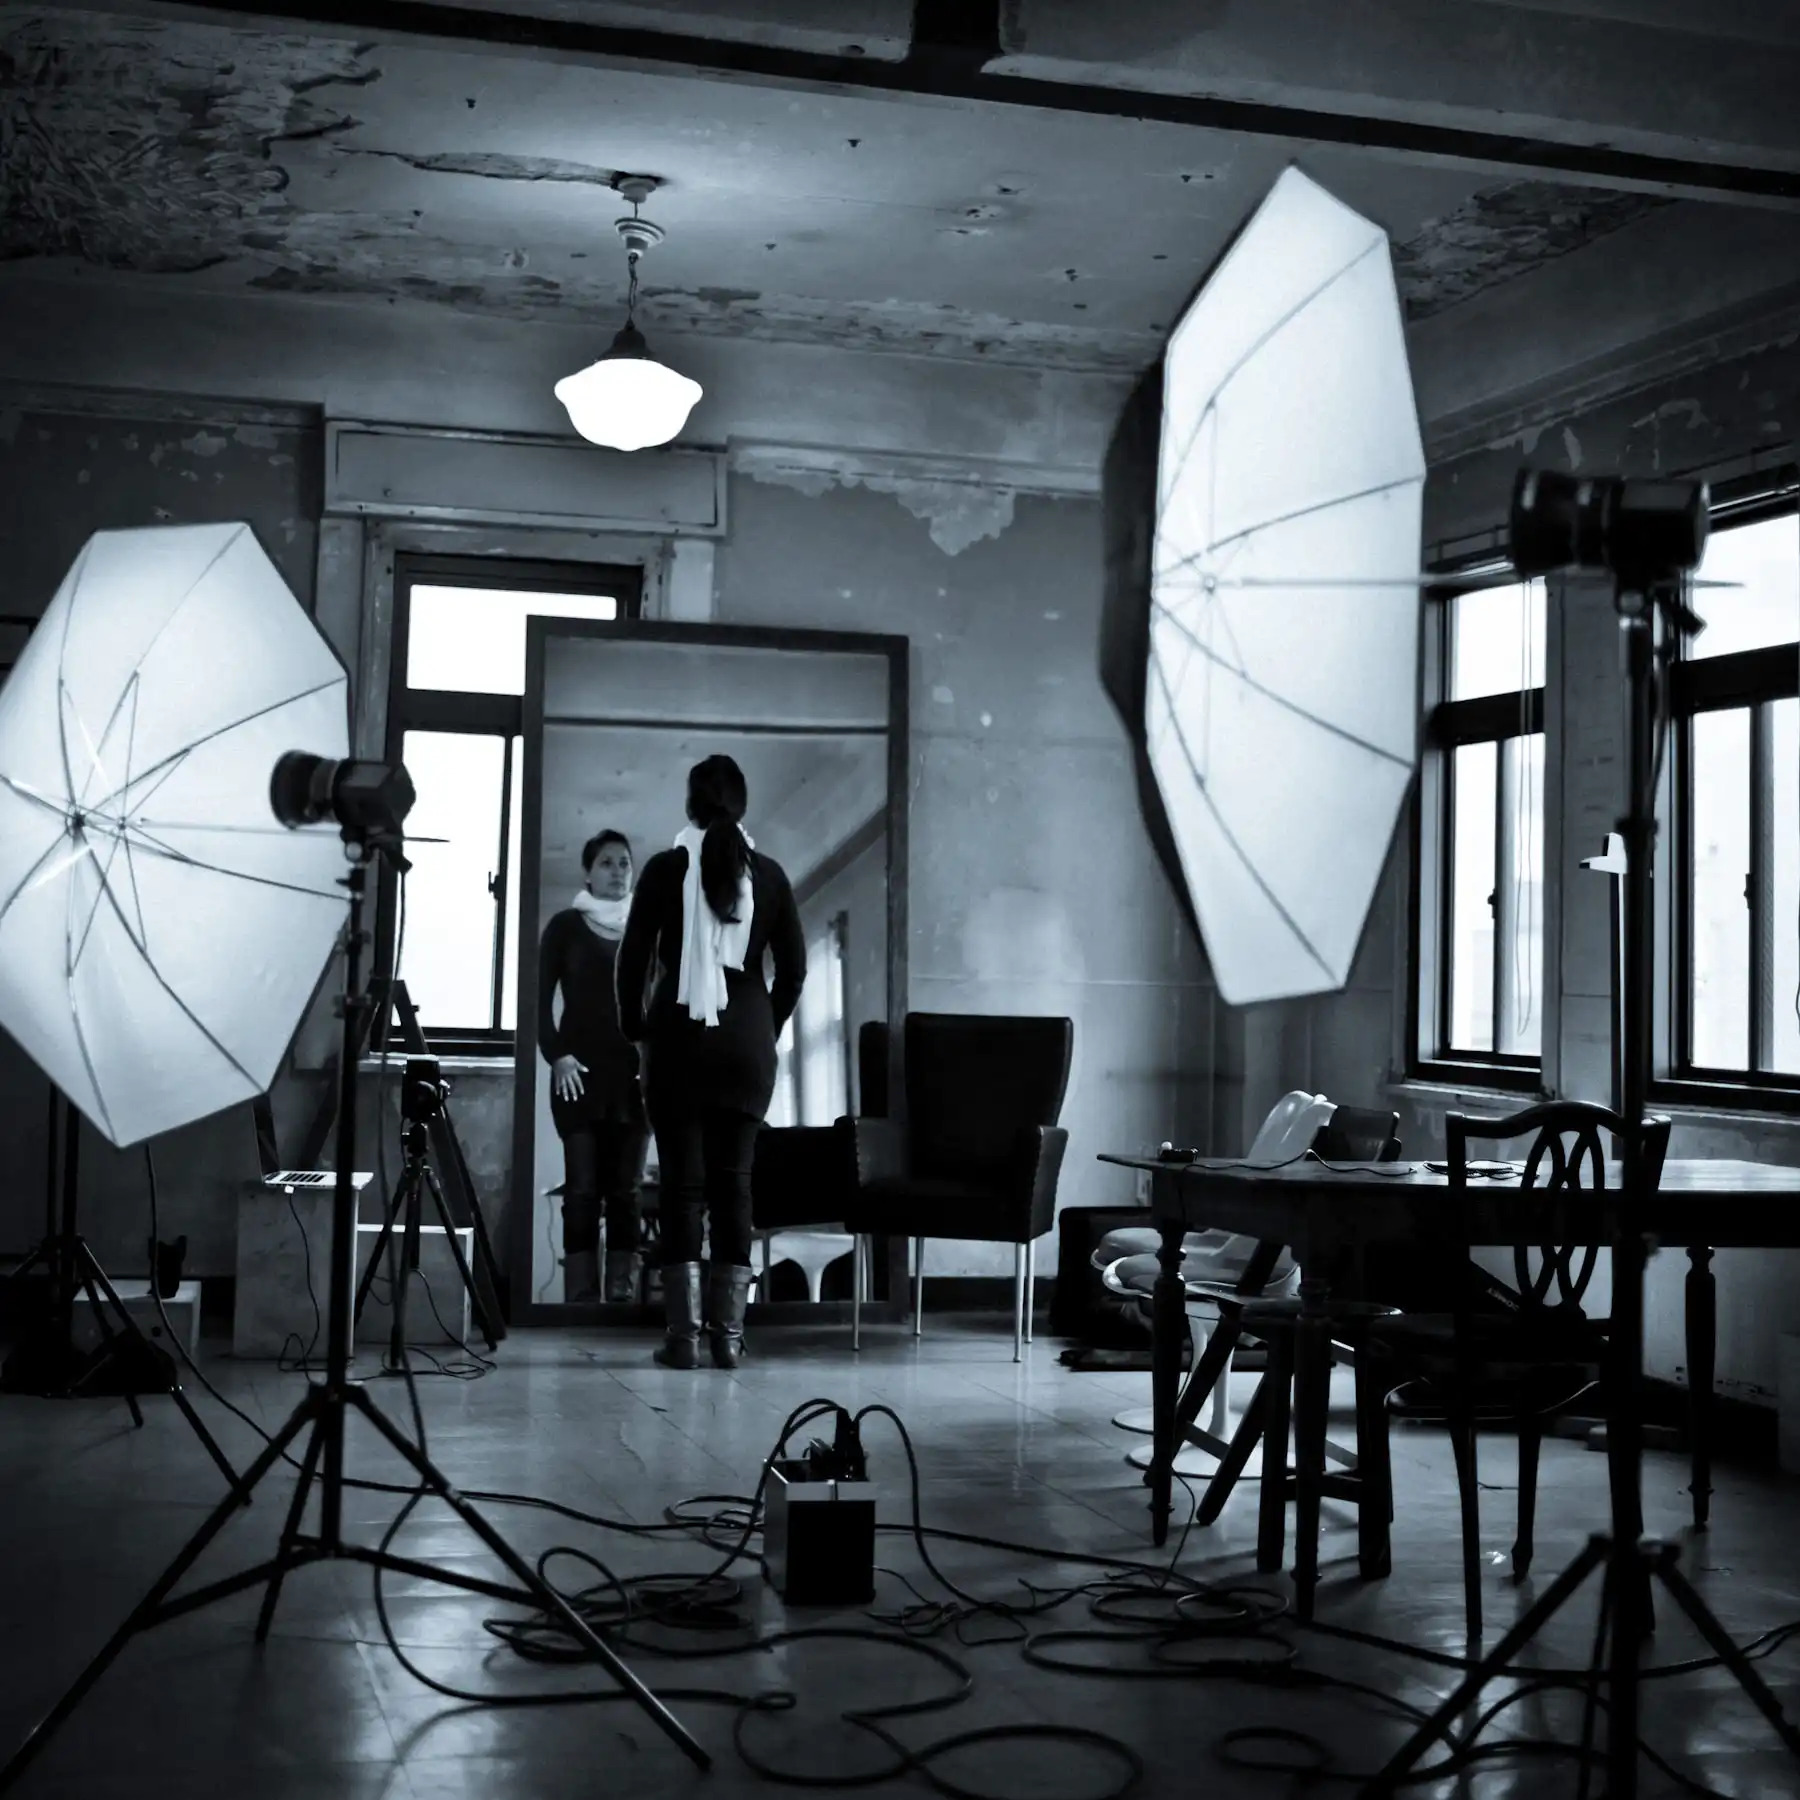
Shoot through umbrellas are easy to use and as the name suggests you put them in front of the light that's pointing at the model and fire away. They diffuse a lot of the flash making the light softer. A large shoot through umbrella will give you very nice looking light that looks almost natural, but keep in mind you're going to have to use a pretty powerful flash. Unlike using a soft box, when you shoot with an umbrella a lot of light gets lost before it falls on your subject.
Reflective umbrellas give you a little more control over light
because it's easier to position them depending on where the light falls.
They also allow you to place them further from the subject without
losing as much light. That makes them ideal for full body portraits.
They usually come in three colors: silver, gold and white. Silver
umbrellas are the most commonly used and they lose the least light.
They're generally used for creating cooler light while gold obviously
works for adding a little warmth. White reflective umbrellas will cause
the most light to be lost but they will also produce the softest light.
Keep in mind though that using a white reflective umbrella is pretty
much like using a shoot-through one in terms of flash power. You'll have
to crank it up a notch but if you want to recreate natural light, it's
the way to go.
Here's a great video tutorial on using umbrellas from The Slanted Lens.


Post a Comment